Contouring and highlighting have transformed the beauty world, offering everyday makeup enthusiasts the power to sculpt, define, and brighten their features with just a few strokes. Mastering this art can enhance your natural beauty and give you a professional, polished finish without spending hours in front of the mirror. Whether you’re new to makeup or want to refine your skills, this comprehensive guide will help you perfect the art of contouring and highlighting.
Understanding Contouring and Highlighting
- Contouring: This technique uses darker shades to create shadows, sculpting the face to make features like cheekbones, jawlines, and noses appear more defined.
- Highlighting: Using lighter shades, highlighting brings forward areas of the face, enhancing features by reflecting light.
The goal: To create balance and dimension, making the face appear more structured yet natural.
Essential Tools and Products
Before diving into techniques, you’ll need the right tools:
1. Contour Products
- Cream Contours: Great for a natural, dewy finish.
- Powder Contours: Ideal for oily skin types or a more matte look.
- Contour Sticks: Convenient for precise application.
2. Highlighting Products
- Liquid Highlighters: Blend easily for a radiant glow.
- Powder Highlighters: Buildable and perfect for adding intense shimmer.
- Cream Highlighters: Offer a soft, natural finish.
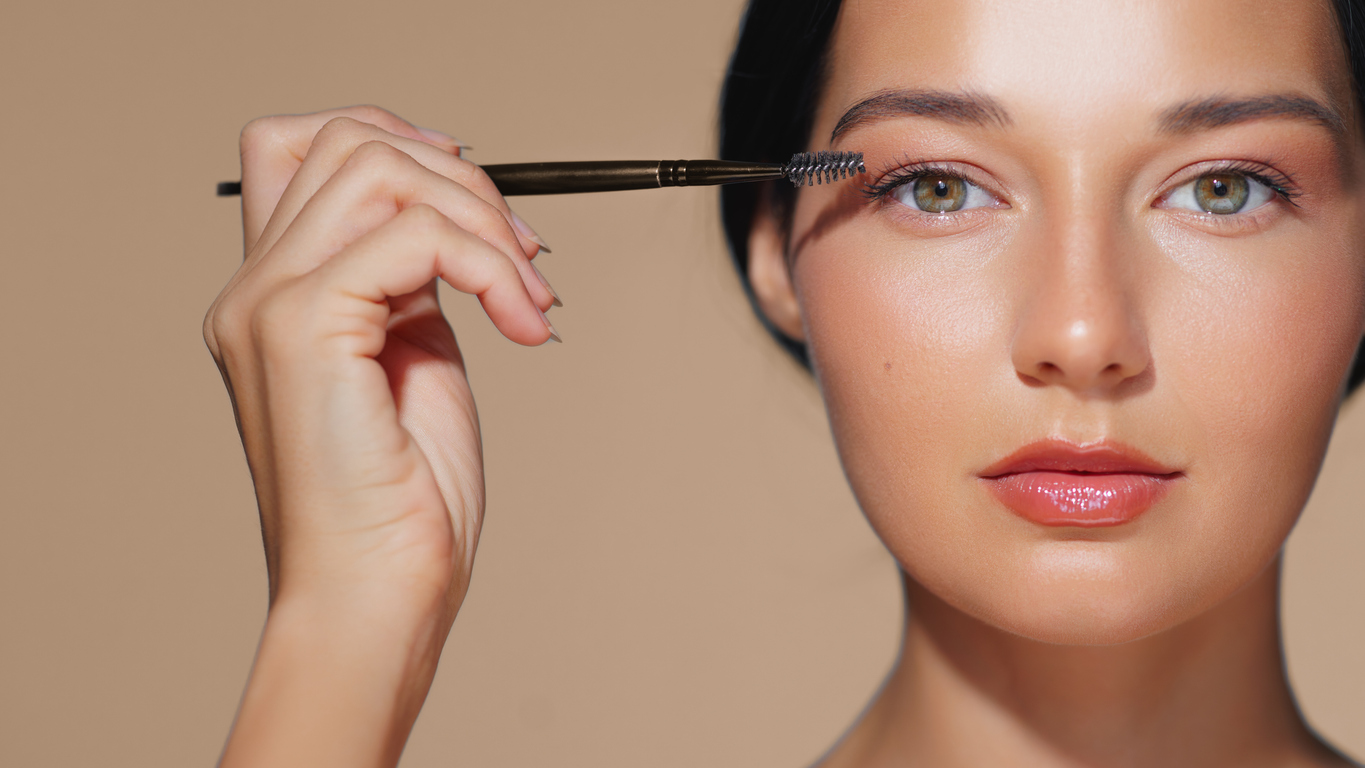
3. Brushes and Sponges
- Angled brush: Perfect for contouring under cheekbones and around the jaw.
- Fan brush: Ideal for lightly dusting highlighter onto the skin.
- Beauty sponge: Great for blending creams seamlessly into the skin.
Finding the Right Shades for Your Skin Tone
For Contour:
- Choose a contour shade that’s 1–2 shades darker than your natural skin tone.
- Look for neutral or cool undertones to mimic natural shadows.
For Highlight:
- Select a highlighter that’s 1–2 shades lighter than your skin tone.
- For a natural effect, pick a shade that matches your undertone (cool, neutral, or warm).
Pro tip:
Avoid using overly warm bronzers for contouring; they can make the face look muddy instead of sculpted.
Step-by-Step Guide to Contouring
1. Prep Your Skin Start with a clean, moisturized face. Apply your foundation and concealer first to create an even base.
2. Map Out Your Contour Identify the areas to add shadow:
- Cheekbones: Start from the ear and angle downward toward the mouth.
- Jawline: Trace along your jaw to define and slim the face.
- Hairline/Forehead: Contour the temples and top of the forehead to add depth (especially for larger foreheads).
- Nose: For a slimmer nose, apply contour along the sides and underneath the tip.
3. Blend, Blend, Blend Use a damp beauty sponge or blending brush to soften harsh lines. Always blend upward to lift the face.
4. Set with Powder (Optional) If using cream products, set your contour with a matching powder to ensure it stays in place all day.
Step-by-Step Guide to Highlighting
1. Identify Highlight Points Focus on areas that naturally catch light:
- Tops of cheekbones
- Bridge of the nose
- Center of the forehead
- Brow bone (just below the eyebrows)
- Cupid’s bow (above the upper lip)
- Inner corners of the eyes
2. Apply Highlighter Use a small brush or fingertip for targeted application:
- For a subtle glow, lightly dust powder highlighter onto these areas.
- For a more intense shine, build layers or use a liquid highlighter.
3. Blend for Seamlessness Ensure the highlighter merges naturally into your foundation and contour for a seamless, radiant look.
Advanced Tips for a Flawless Finish
1. Layering Techniques Start with cream products and set them with powder versions for longer-lasting definition and glow.
2. Choose the Right Formula for Your Skin Type
- Oily skin: Stick to powder products.
- Dry skin: Opt for cream or liquid formulas that add hydration.
- Combination skin: Mix and match depending on the area (e.g., powder on oily T-zone, cream on dry cheeks).
3. Use Light-Handed Application Less is more. It’s easier to build up product than to tone it down once applied heavily.
4. Blend Into Hairline and Neck Extend your contour slightly into the hairline and along the neck for the most natural look.
5. Use Natural Light Whenever possible, apply and check your makeup in natural light to ensure even application.
Common Contouring and Highlighting Mistakes to Avoid
1. Choosing the Wrong Shade Too dark or too warm contour shades can make the skin look muddy instead of sculpted.
2. Harsh, Unblended Lines Failing to blend properly leaves visible lines that break the illusion of natural shadows and highlights.
3. Highlighting the Wrong Areas Applying highlighter too close to the nose or in large patches can make your face appear wider.
4. Over-Contouring Heavy contouring can age the face or look unnatural. Aim for a subtle, sculpted look unless going for a specific dramatic effect.
Contouring and Highlighting for Different Face Shapes
Each face shape benefits from slightly different contouring and highlighting techniques:
- Oval: Focus on enhancing natural balance; light contouring around the forehead and jaw.
- Round: Contour the sides of the face and under the cheekbones to create more angles.
- Square: Soften strong angles with contour on the corners of the forehead and jaw.
- Heart-shaped: Focus on contouring the forehead and highlighting the chin area.
- Long: Contour along the top of the forehead and bottom of the chin to create the illusion of a shorter face.
Pro tip:
Always adjust your technique based on what you want to enhance or soften.
Best Contouring and Highlighting Products to Try
Contouring Favorites:
- Fenty Beauty Match Stix
- Anastasia Beverly Hills Contour Kit
- Huda Beauty Tantour Contour & Bronzer Cream
Highlighting Favorites:
- Becca Shimmering Skin Perfector Pressed Highlighter
- Charlotte Tilbury Hollywood Flawless Filter
- Rare Beauty Positive Light Liquid Luminizer
Mastering the art of contouring and highlighting doesn’t require professional training—it simply takes practice, the right tools, and an understanding of your face’s natural structure. Whether you prefer a subtle daytime sculpt or a full-glam evening glow, the right contour and highlight can enhance your features beautifully. With these techniques and tips, you’re ready to create definition and luminosity like a pro. Happy blending!